
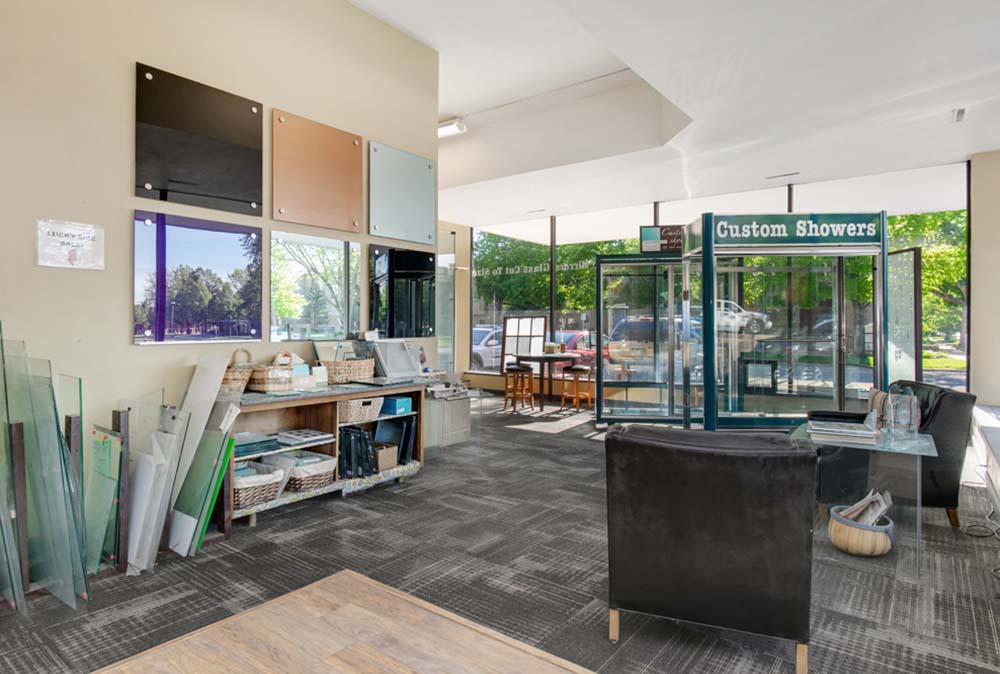
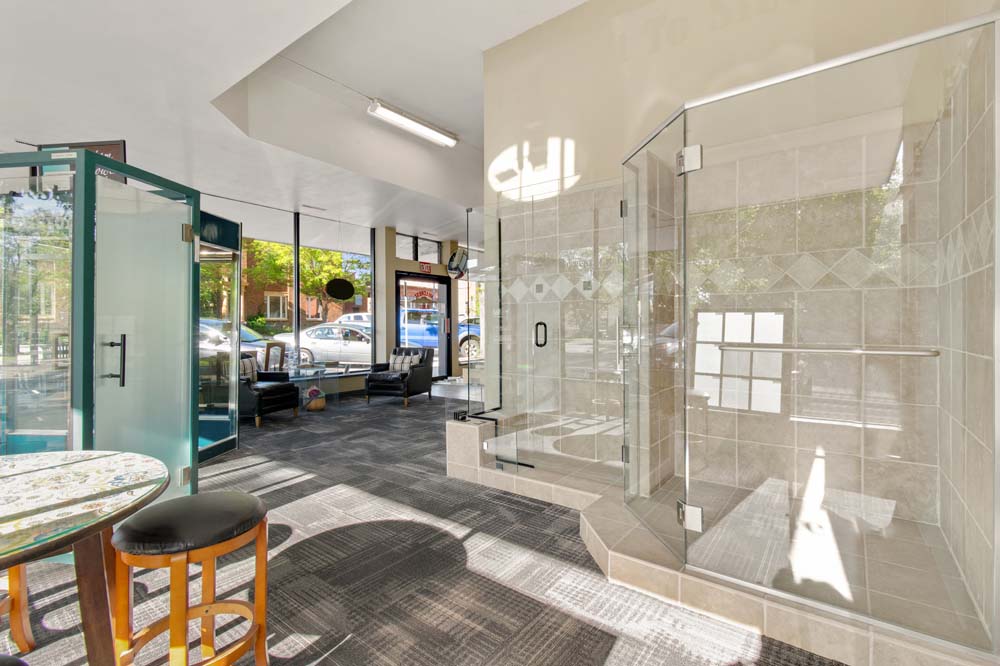
Come Visit Our Showroom
Our showroom features full-size displays of all types of custom shower enclosures. Stop by to touch and see the possibilities. We’ll help turn your vision into reality by designing and installing the shower enclosure you’ve dreamed about. We have been here serving as your local glass experts for over 50 years.

Are you a professional home builder?
Visit our professional services page to see a list of our products and services for home builders & contractors.
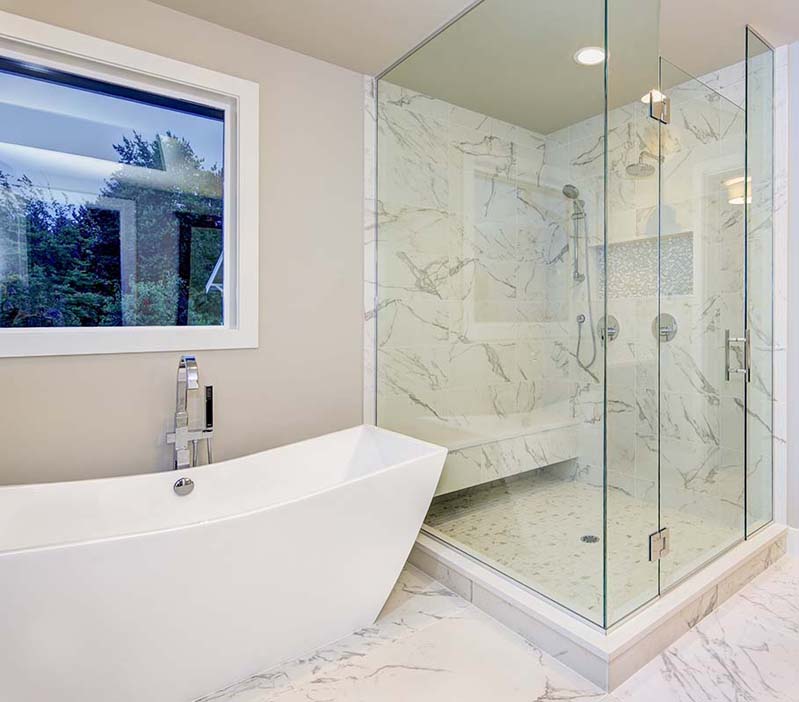
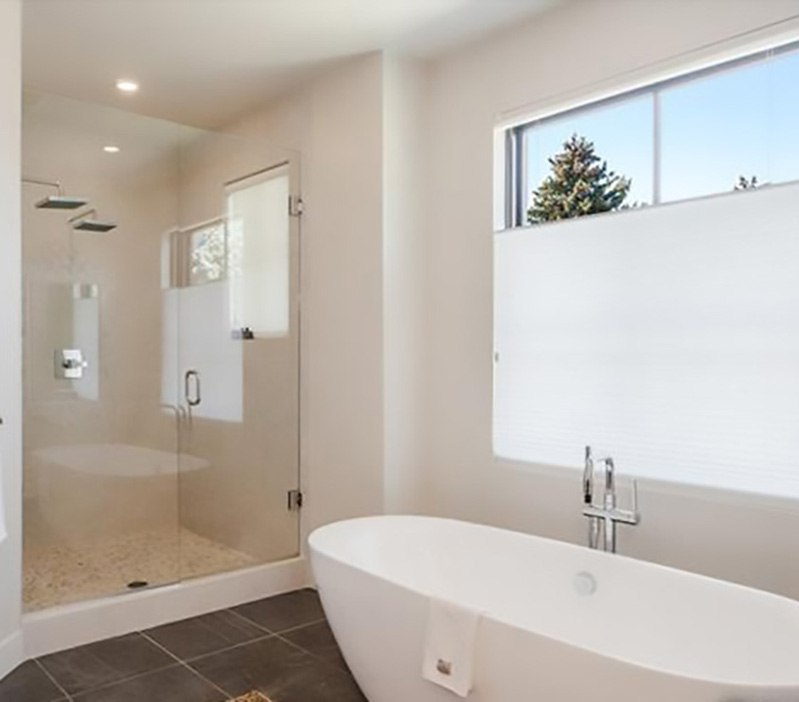
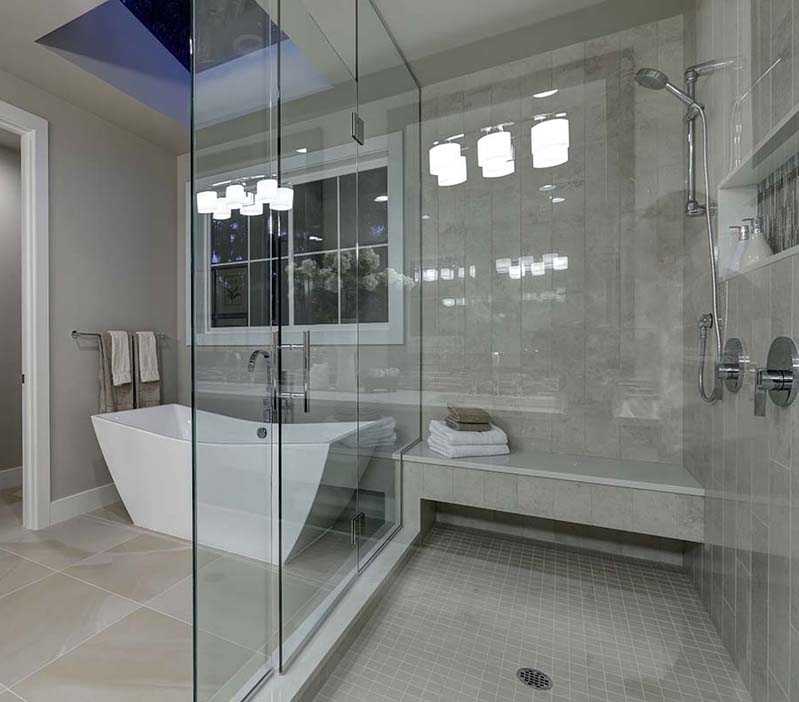

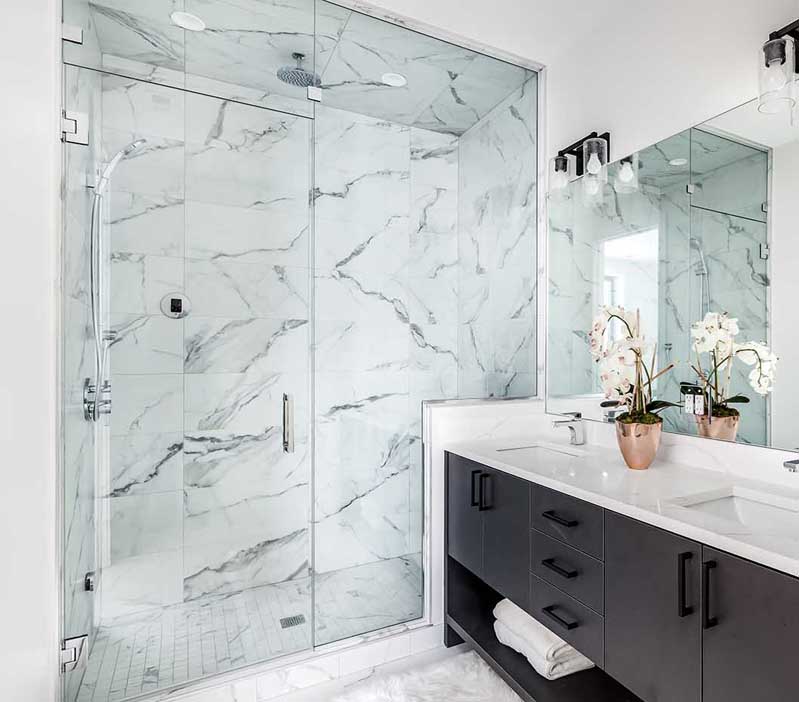
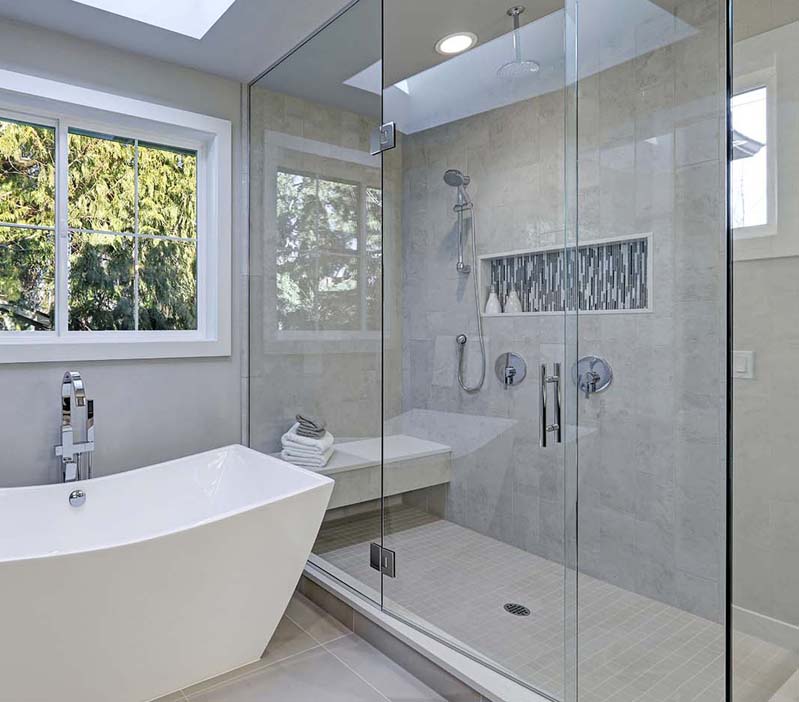

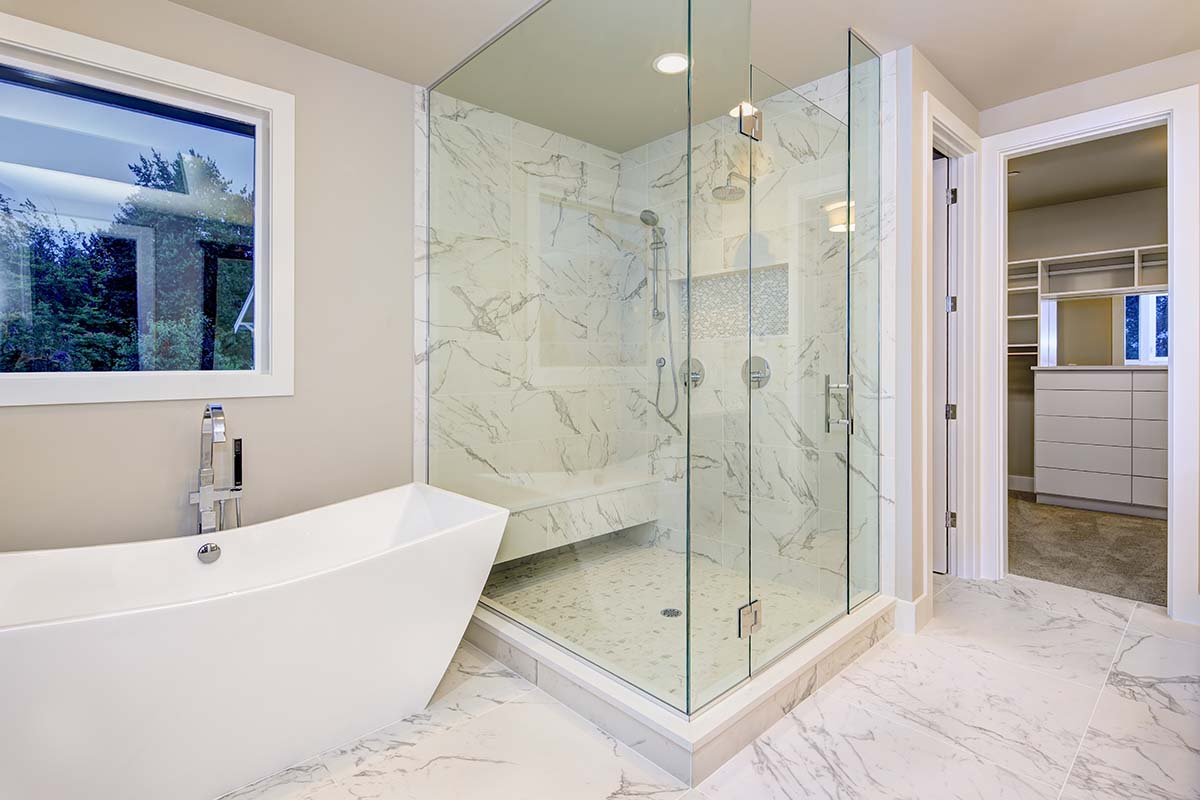
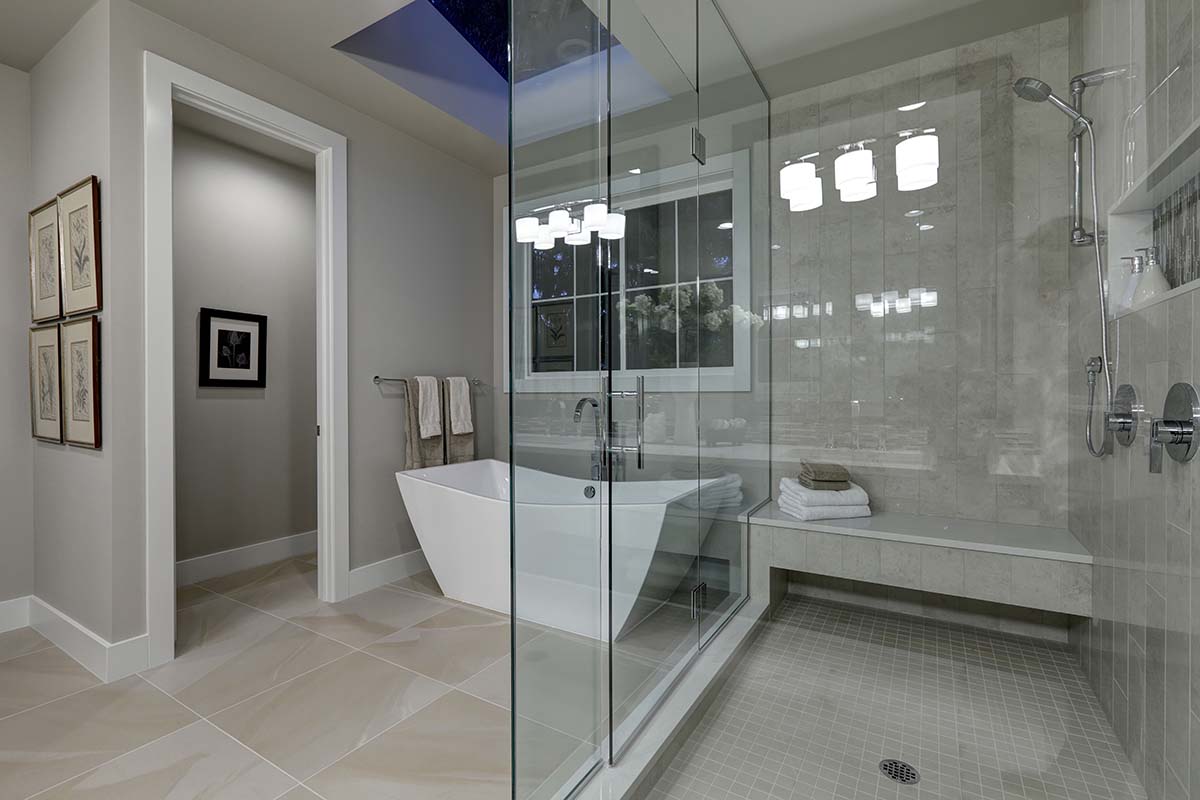
Frameless Glass Shower Enclosures
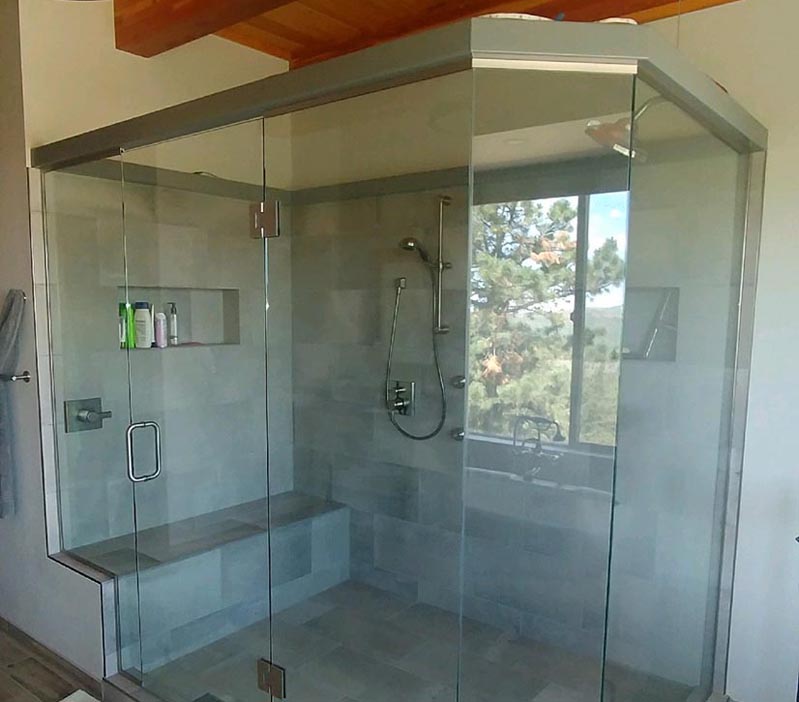
Frameless Enclosures (also called Heavy Glass or European style enclosures) act as a stunning centerpiece to any bathroom. They are made from 3/8” thick tempered glass. They’re sleek, elegant and make a bathroom look bigger and brighter. These enclosures have become a standard feature in high-end homes in Colorado. Find more details on our custom frameless showers here.
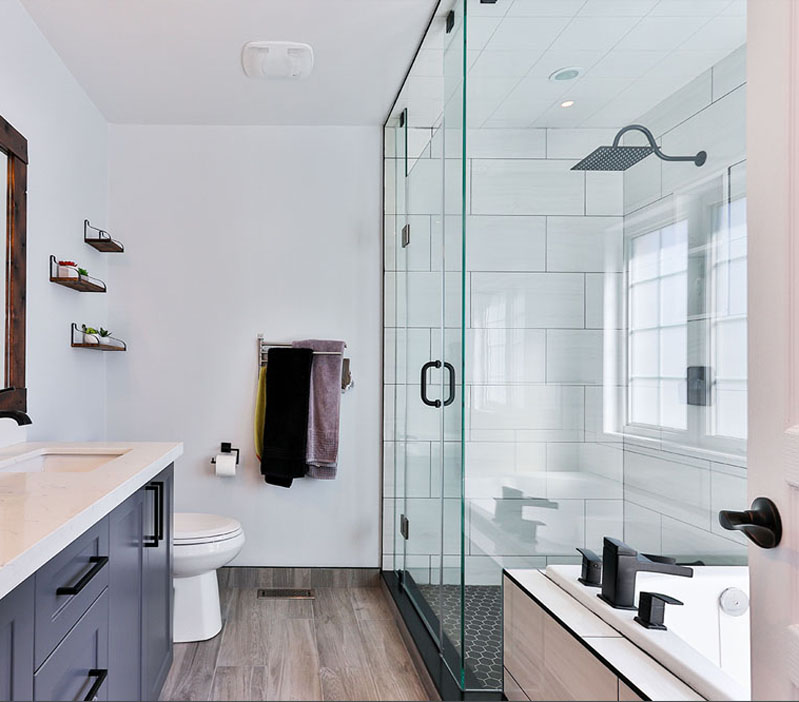
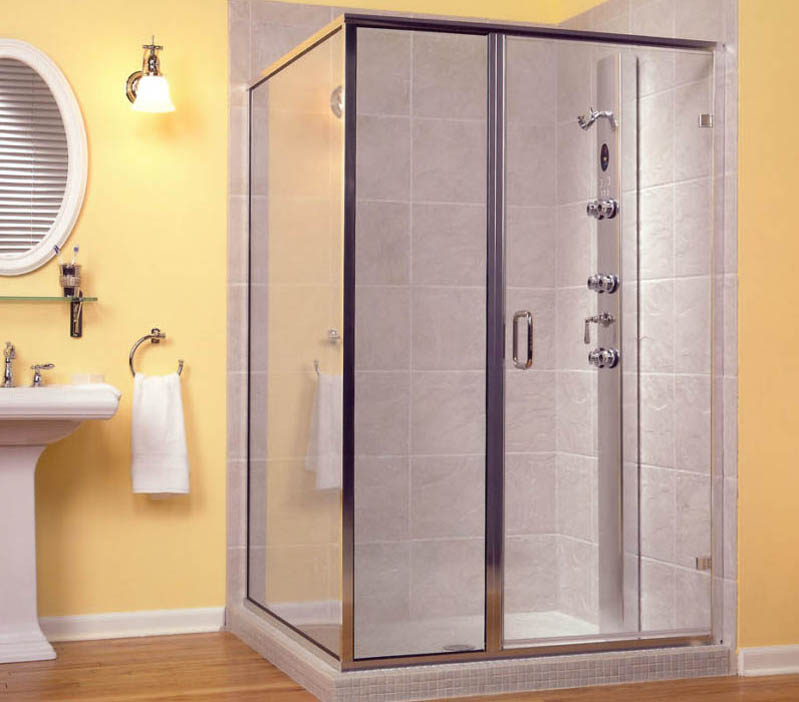
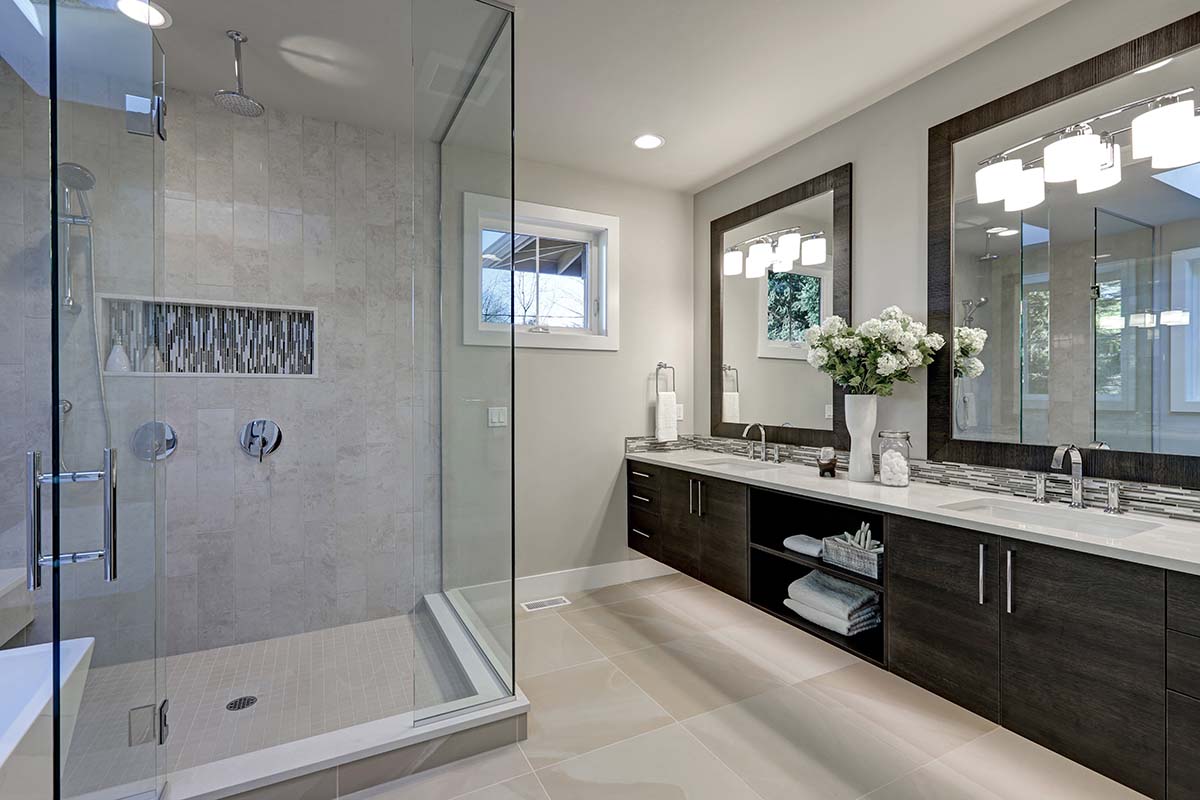
Semi-Frameless & Framed Shower Enclosures
These enclosures are typically made from 1/4” thick tempered glass. Because the glass is thinner, it needs to have metal framing on panels and sidelites to provide structure. If the door has no frame, the enclosure is considered Semi-frameless. These enclosures may be slightly less expensive than frameless enclosures. Semi-frameless and fully framed doors are a good solution for showers that will get a lot of use such as kid’s rooms, rentals or athletic clubs. They are also a good choice for very small showers where water from the shower head sprays directly onto the glass since the doors have a magnetic closer so that water can’t leak or dribble out. Find more details on our semi-frameless and framed showers here.
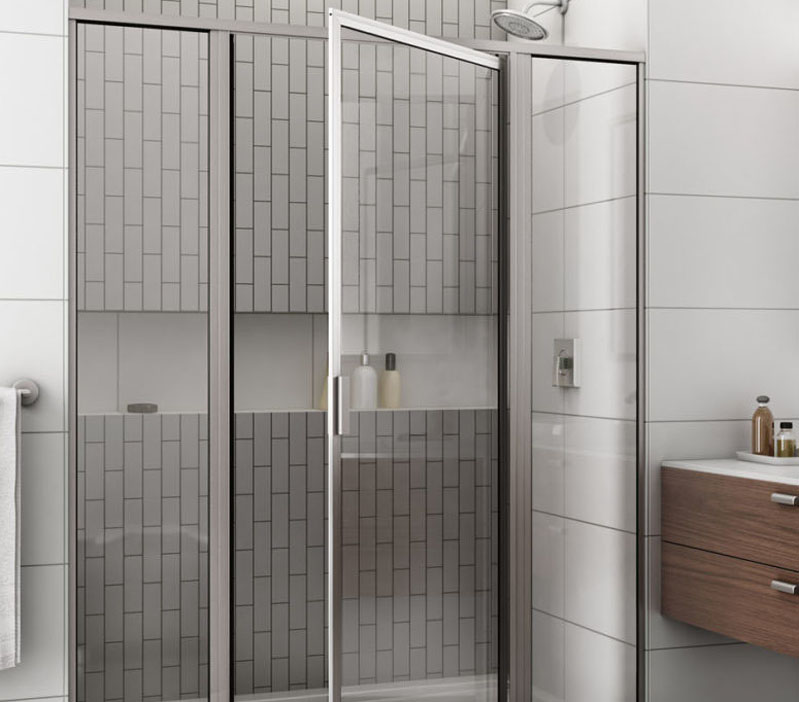
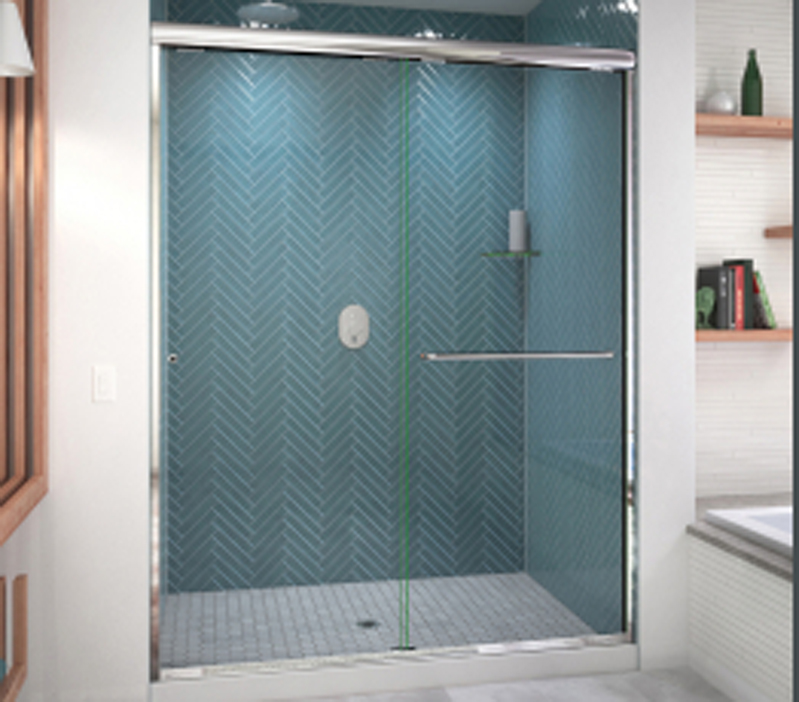
Semi-Frameless Bypass Sliding Shower Enclosures
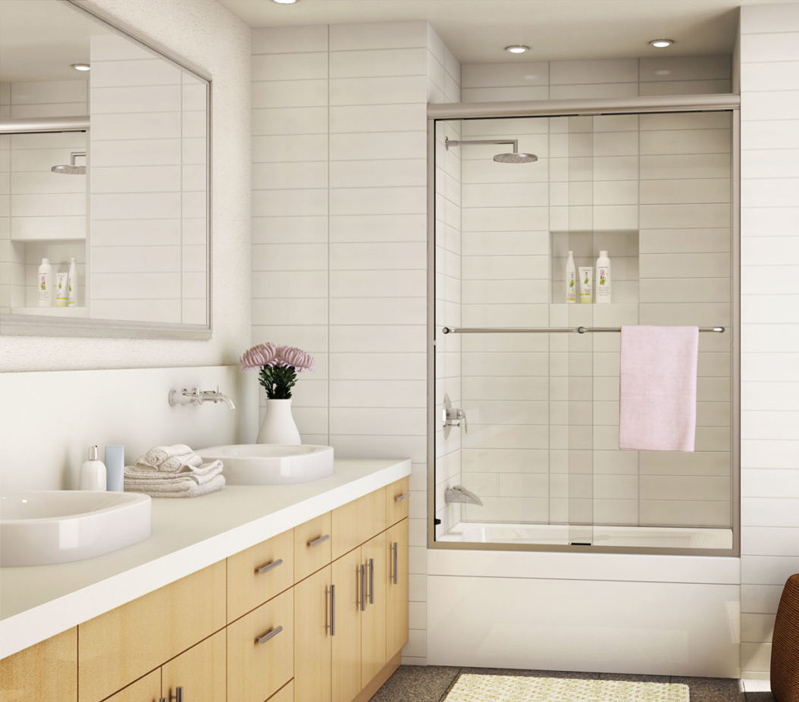
These enclosures are made from 1/4” thick tempered glass. They are a great and cost-effective solution to bathrooms where the shower is replacing a bathtub or they can also be installed on top of a tub. Bypass sliders come with a sill to control water, a header and wall-mounted jambs. The glass doors have no frame. Find more details on our semi-frameless bypass sliding showers here.
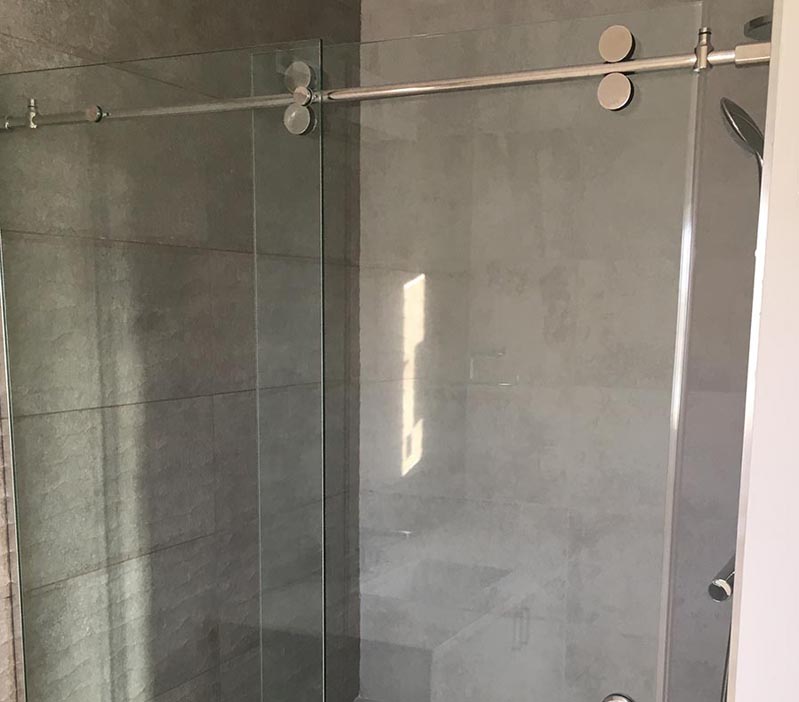
Barn Door Style Sliding Glass Shower Enclosures
These enclosures are made from 3/8” thick tempered glass. The doors feature attractive and stylish exposed wheels on which they slide. On most models, only one-panel slides, however, bypass models are available. These enclosures are a great solution for making a techie, mechanical design statement. Because they are made with 3/8” glass, they also offer a nice high-end feel. Find more details on our barn door sliding showers here.

Getting Started with Your Shower Project
Glass shower enclosures are a highlight of any bathroom design. They add a striking feature that is both beautiful and functional.
Here is Our Process for Getting Your Shower Project Started
Step 1: Make a Plan
Send us your plan or a sketch. Include a Plan view and an elevation with dimensions. See example below.
Step 2: Pick a Type
Indicate the type of shower(s) you would like quoted.
Step 3: Hardware and Hardware Finish
Indicate whether you want the fixed panels to be installed with channels or clips. Hillcrest’s default method is channel. Channel blends into the perimeter of the glass and there is no need to drill through the shower curb. Clips add a sophisticated industrial look. Clips add costs due to additional glass fabrication. See Channel vs Clips for a more detailed summary.
Step 4: Hardware Finish
Indicate the finish on the hardware. Our standard finishes are Chrome, Brushed Nickel, Oil Rubbed Bronze and Matte Black. Other premium finishes are available, but if you are going this direction, it is mandatory that you visit our showroom and view the samples to approve the finish.
Step 5: Building Permits
Let us know if you have a building permit so we know the correct tax to charge you.
Step 6: Get an Estimate
Now that you have this information, call us for a budgetary estimate over the phone or fill out our FREE ESTIMATE form here.
Step 7: Measure and deposit
Once you think you want to move forward, and the tile is done, we will send a technician out to laser measure the opening and refine the quote. The technician will be able to answer your questions and make any minor adjustments that might be necessary. When you decide to engage us to do the work, you will be asked for a 50% deposit for custom material.
Step 8: Installation
When the glass comes in, we will inspect it and put you on our installation schedule. From deposit to installation usually takes about 2-3 weeks.
Step 9: Enjoy your new shower!
How to Build a Custom Shower Enclosure
Design and Construction Considerations for
a Frameless Glass Shower Enclosure
Door Swing
Typical doors are 28” to 30” wide. We generally try to avoid doors that are less than 24” or wider that 34”. Doors swing 180 degrees, both in and out. You need to plan enough room to avoid obstacles such as toilets, vanities or towel bars. On the inside of the shower, make sure there is clearance for fixtures such as rain heads. It is usually recommended that the door swing on the same side of the shower as the shower controls. This way the door can open out to turn and enter the shower and provide the shortest reach to the controls. When exiting the shower, the door pulls in and drips into the base, not on the floor.
Fixed Panels
Fixed panels that are in the same plane as the door are considered “inline” panels. They can be full height or notched over benches, notched over pony walls or raked.
If a panel needs to be notched to go over a bench or up on a pony wall, it is also called a “step-up” panel. If this is part of your design, you need to make sure that the leg on the panel is at least 4” and the notch is at least 2.5” deep. Call us to discuss this if you have any questions.
Panels that are at 90 degrees (or a custom angle) to the front of the shower are called “return” panels. At the corner where the return panel meets the inline panel we use a miter joint and silicone for stability. Sometimes it is also necessary to use a small clamp on the top of the glass at this intersection for added stability.
There are two basic options for attaching fixed glass panels to the tile, channel and clips. Channel is sleek and provides an unobstructed look to the glass. Channel also provides a great water seal and does not require drilling into the water barrier at the curb. Clips are stylish and techie. Clips add a bit of cost due to the additional glass fabrication and installation time they require. Some designs incorporate clips on the side and channel at the bottom for a great look with better long-term water performance. See Channel vs Clips for a complete summary of these two options.
Height
We generally recommend that the height of the shower enclosure is slightly above the shower head. When the door height reaches 84” weight may become an issue. You also need to consider leaving enough space between the top of the enclosure and the ceiling to allow steam to escape. Leaving at least 6” of space is a good rule of thumb.
Door Swing
Typical doors are 28” to 30” wide. Doors swing 180 degrees, both in and out. You need to plan enough room to avoid obstacles such as toilets, vanities or towel bars. On the inside of the shower, make sure there is clearance for fixtures such as rain heads.
Hinging, Backing and Door Support
The sleekest and most cost-effective design is to hinge the door on the wall. Frameless doors are heavy and require structural support (studs) behind the tile if the door hinges on the wall. Make sure that there are double or triple studs for backing behind the tile where the glass door will meet the tile. This is usually the center of the curb. This can also be accomplished by installing a 2X6 “strap” between the studs centered at 12” above the curb and 12” below the top of the glass. This will ensure proper bite for the hinge screws and greatly lessen the chance of cracking tiles during installation.
In the case of installing a new door into the existing tile, plugs can be used to attach the hinges. Plugs work most of the time, but can cause tiles to crack.
If you do not hinge to the wall (hinge to glass), your enclosure will require a header to support the weight of the door swing. An alternative to a header is to run the panel that is supporting the door to the ceiling, in order to provide stability for the door. This is commonly done in a steam shower.
Tile
The wall tile should ideally extend at least slightly beyond the shower curb. If the curb itself is tile or stone, it should be slightly slanted toward the inside of the shower to assure proper water control. Uneven tile situations such as “bellies” and “smiles” will create issues with gaps in the shower installation. If using decorative tile that is highly textured, such as an accent strip, the decorative tile should stop or “pause” where the door hinges will go. If you are using glass tile, which is very difficult to drill, it is a good idea to leave out the tiles where the hinges will go. We install the hinges on shim plates and the final tiles go around the plates after the shower is installed.
Measuring Tolerances
Despite the best efforts of your tile guy, there will likely be some small outages in plumb and level in your finished tile. This is why each shower enclosure is custom-made to exactly fit the opening. This is done by laser measuring the opening to a tolerance of +/- a 1/16 of an inch and cutting glass out-of-square if necessary. Measurements for the glass cannot be made until the tile is installed.
Hardware and Finishes
Pull hardware comes in several different styles. “D” pulls are simple and sleek. Ladder pulls, or square pulls are also available. Or, for the ultimate minimalist, we can provide a 1.5” polished hole or cut-out in the glass in lieu of a pull. We also offer several hardware accessories such as towel bars, knobs, robe hooks.
Several hardware finishes are available. Our standard finishes are Chrome, Brushed Nickel, Oil Rubbed Bronze and Matte Black. We also carry several premium finishes such and bronzes and brass finishes. Come into the showroom and see for yourself.
Glass Options
The vast majority of shower enclosures we install are clear glass. This is because clear glass allows you to show off your (probably new) tile work and makes the bathroom look bigger. Several obscure glass options exist such as Rain, Glue chip, Satin or Delta Frost. We also offer Starfire, which is an ultra-clear low-iron glass. Come into our showroom to see the options.
Glass Coating
EnduroShield is a product that is put on the glass in the fabrication plant. This coating makes the glass easier to clean and makes the water sheet off more quickly so fewer water spots are left behind. It is especially helpful if your house is on well water because your water has high mineral content. It has a 10-year warranty.
Glass Attachment
There are 2 basic options for attaching fixed glass panels to the tile, channel and clips. Channel is sleek and unobstructed and provides a great water seal. Clips are stylish and techie. Clips add a bit of cost due to the additional glass fabrication they require. See Channel vs Clips for a complete summary of these 2 options.
How to Keep Your Shower Glass Clean Without Using Harsh Chemicals
Here is a quick, easy, green way to keep your shower glass sparkling clean. Try this method while you’re in the shower with products that you already have and you’ll never have spotted or milky glass again. Just a little elbow grease a few times a week and you’ll be amazed at how great your shower glass will look.
Things You’ll Need:
- Any kind of shampoo
- Nylon puff body scrubber
Step 1
While you’re in the shower you can use an ordinary puff nylon body scrubber with shampoo on it to keep your glass sparkling clean.
- Put a small dab of shampoo on scrubber
Step 2
Rub the glass with a small circular motion
Step 3
Splash water on the suds to rinse the glass.
Step 4
If you have time you can squeegee the glass when you turn the water off. It’s good to try to do this once a week or so. It also helps to keep the shower door open for a while after you’re done so all of the steam can get out of the enclosure. By keeping the door open after each shower condensation on the glass is really limited and glass stays cleaner longer.
Step 5
Enjoy the crystal clear view!
Frameless Glass Shower Enclosures: Channel vs. Clips

Frameless glass shower enclosures require 3/8” tempered glass which weighs 5 lbs. per square foot. “Heavy” fixed panels are attached to the wall using either channel or clips. Both solutions are beautiful, but there are some important considerations when deciding how you want to attach the fixed panels.
Channel:
Channel runs the entire length of the glass where it touches the tile, providing both a mechanical means to support the glass and a water barrier. On the vertical surfaces the channel will be screwed into the tile. On the horizontal surfaces a high bond double-sided tape is used to hold the channel in place along with the weight of the glass. Silicone is required on the bottom edge of the channel where it abuts the tile on the inside and outside of the enclosure. We also apply a thin bead of silicone where the channel meets the glass, both inside and outside. This construction provides an excellent water barrier and structural support for the glass.
Advantages of Channel:
- Clean, unobstructed view of glass and tile
- Water barrier beneath the tile is not pierced
- Less expensive option due to less fabrication of the glass, less labor required to install

Clips:
Clips, which are 2” X 2”, are used on the side and bottom of a fixed panel. Clips require a notch in the glass to receive the clip hardware and mechanically attach the glass to the tile. Clips are screwed into the tile on both vertical and horizontal surfaces. The water barrier beneath the tile is pierced on the horizontal surfaces. To prevent water issues, screw holes are filled with silicone. Additionally a piece of vinyl bulb seal is adhered to the bottom of the glass where it abuts the tile to fill the gap between the clip hardware and the glass. Silicone is required where the glass meets the tile all around the edges of the clip. Silicone and bulb seal are the barriers to water in this application.
Advantages of Clips:
- Depending on size, panels may feel more stable if attached with clips
- Mechanical, “techie” look is very attractive and modern.
Disadvantages of clips:
- Water barrier beneath the tile is pierced on horizontal surfaces
- Increased expense due to more fabrication of glass and increased labor

One More Option – Hybrid:
Several of our contractors and designers use a hybrid approach. Clips are used to secure fixed panels on the sides and channel is used to secure the fixed panels on the bottom. This approach helps minimize water issues and provides the desired look and security of clips.
The Bottom Line: Both clips and channel are used regularly on frameless glass shower enclosures, the choice usually comes down to personal taste, budget and risk avoidance.
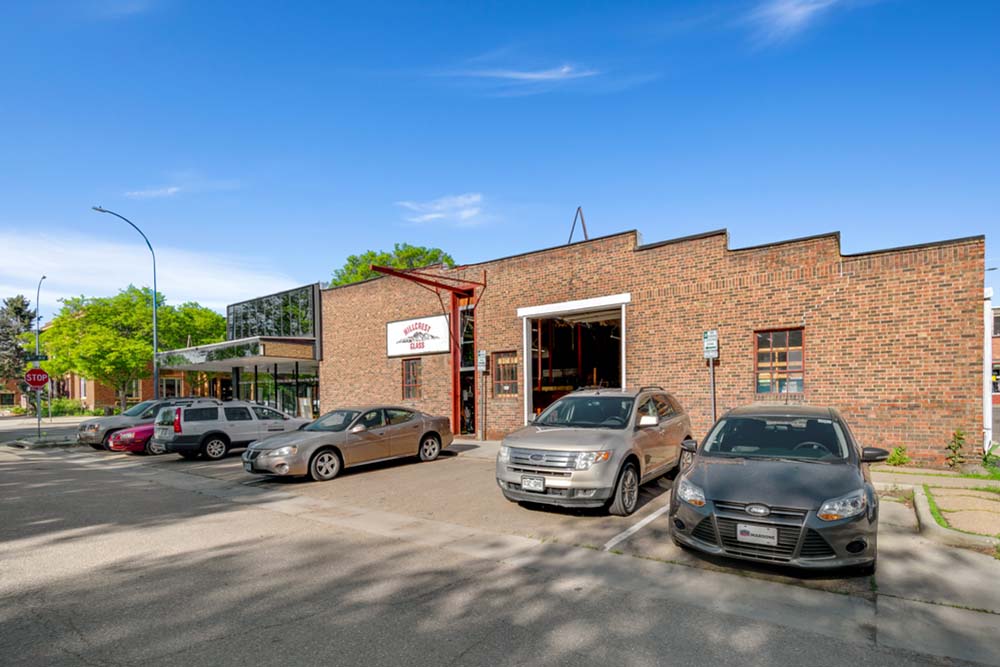
About Hillcrest Glass
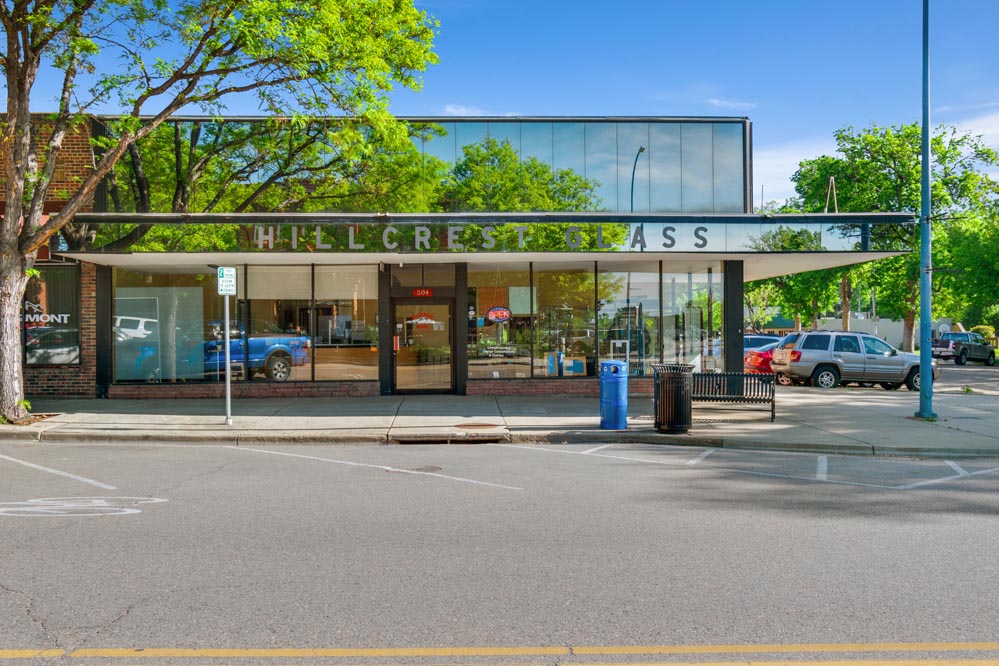
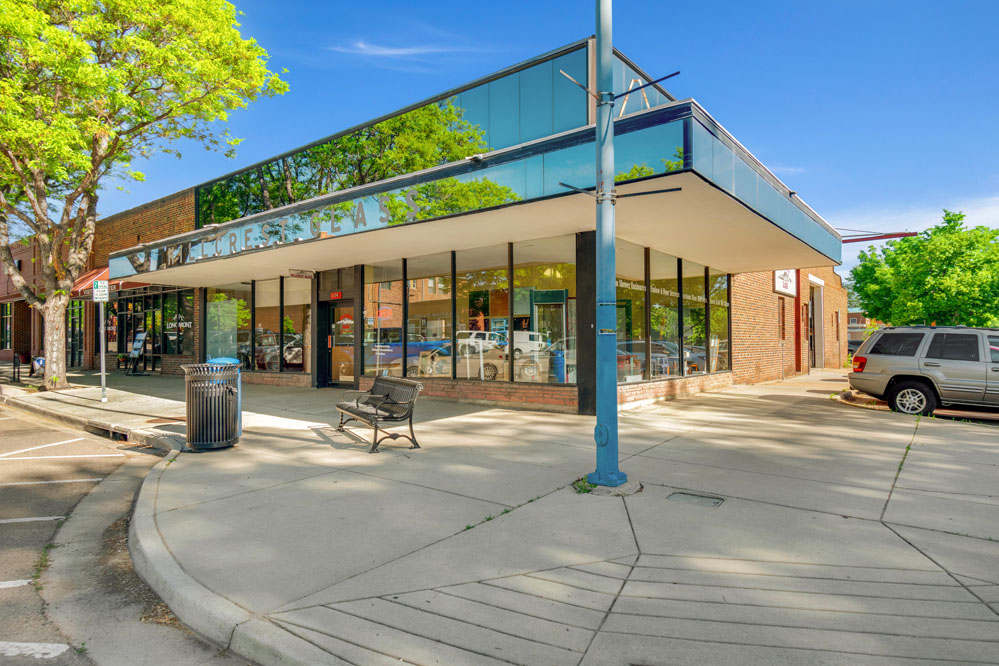
Hillcrest Glass is a full-service glass shop located in Longmont, Colorado. We have been providing glass in Longmont, Boulder, and nearby communities on the Northern Front Range of Colorado since 1969. We’ve been locally owned since the beginning.